Building a Bamboo Bicycle — a review of the Bamboo Bicycle Club
I moved to Seattle, and as many Seattleites do, I got into bikes. I have many a happy memory of the Burke Gilman, Lake Union Loop, and all the other wonderful bike paths out there. During my bike journey, one of the first things that interested me was the different feel of frame materials.
Fortunately, since I had my bicycle stolen roughly once a year, I got to try quite a few different frames out without needing to ever actually deal with storing a full quiver of bikes.
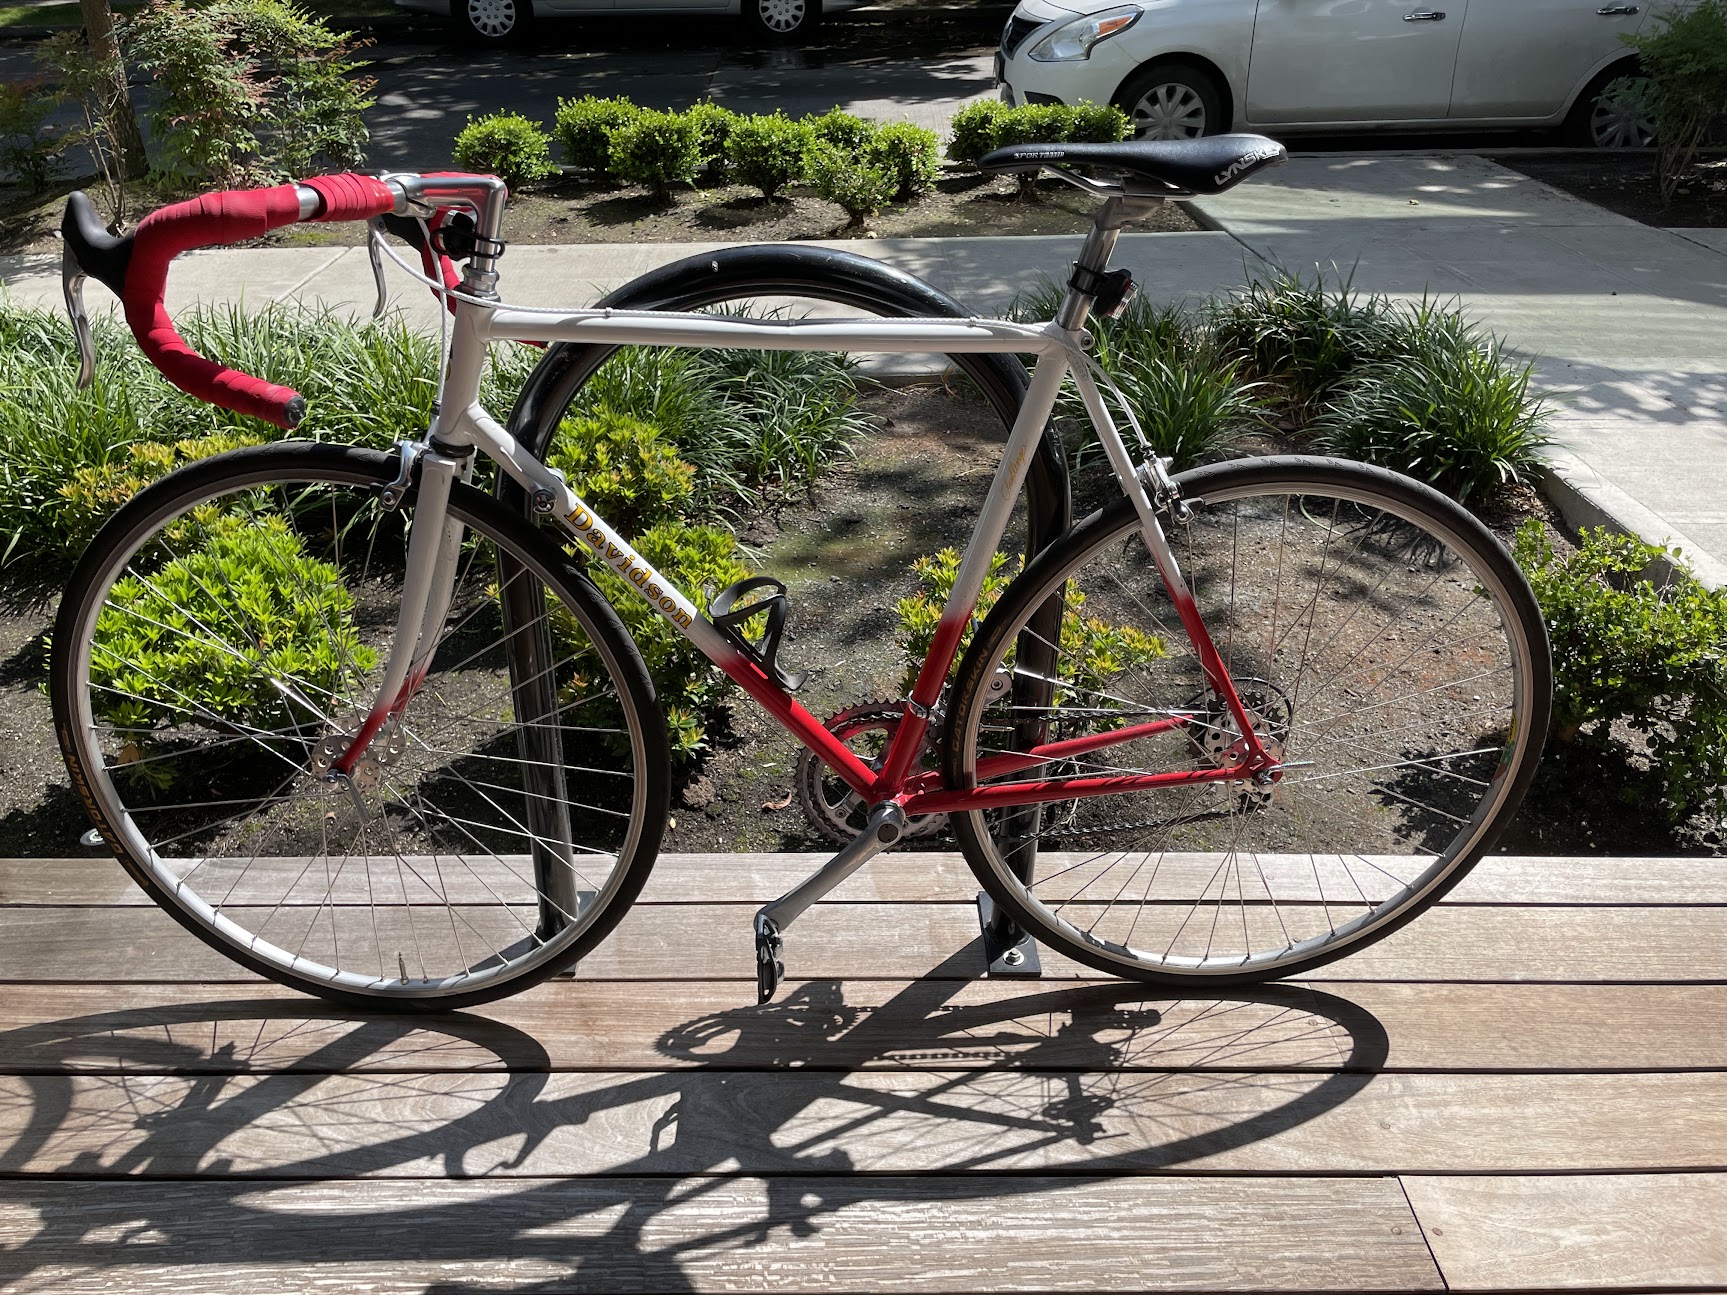
At first, I tried more normal stuff, like solid steel, cool carbon fiber, an alright aluminium one, and eventually a tough titanium one.
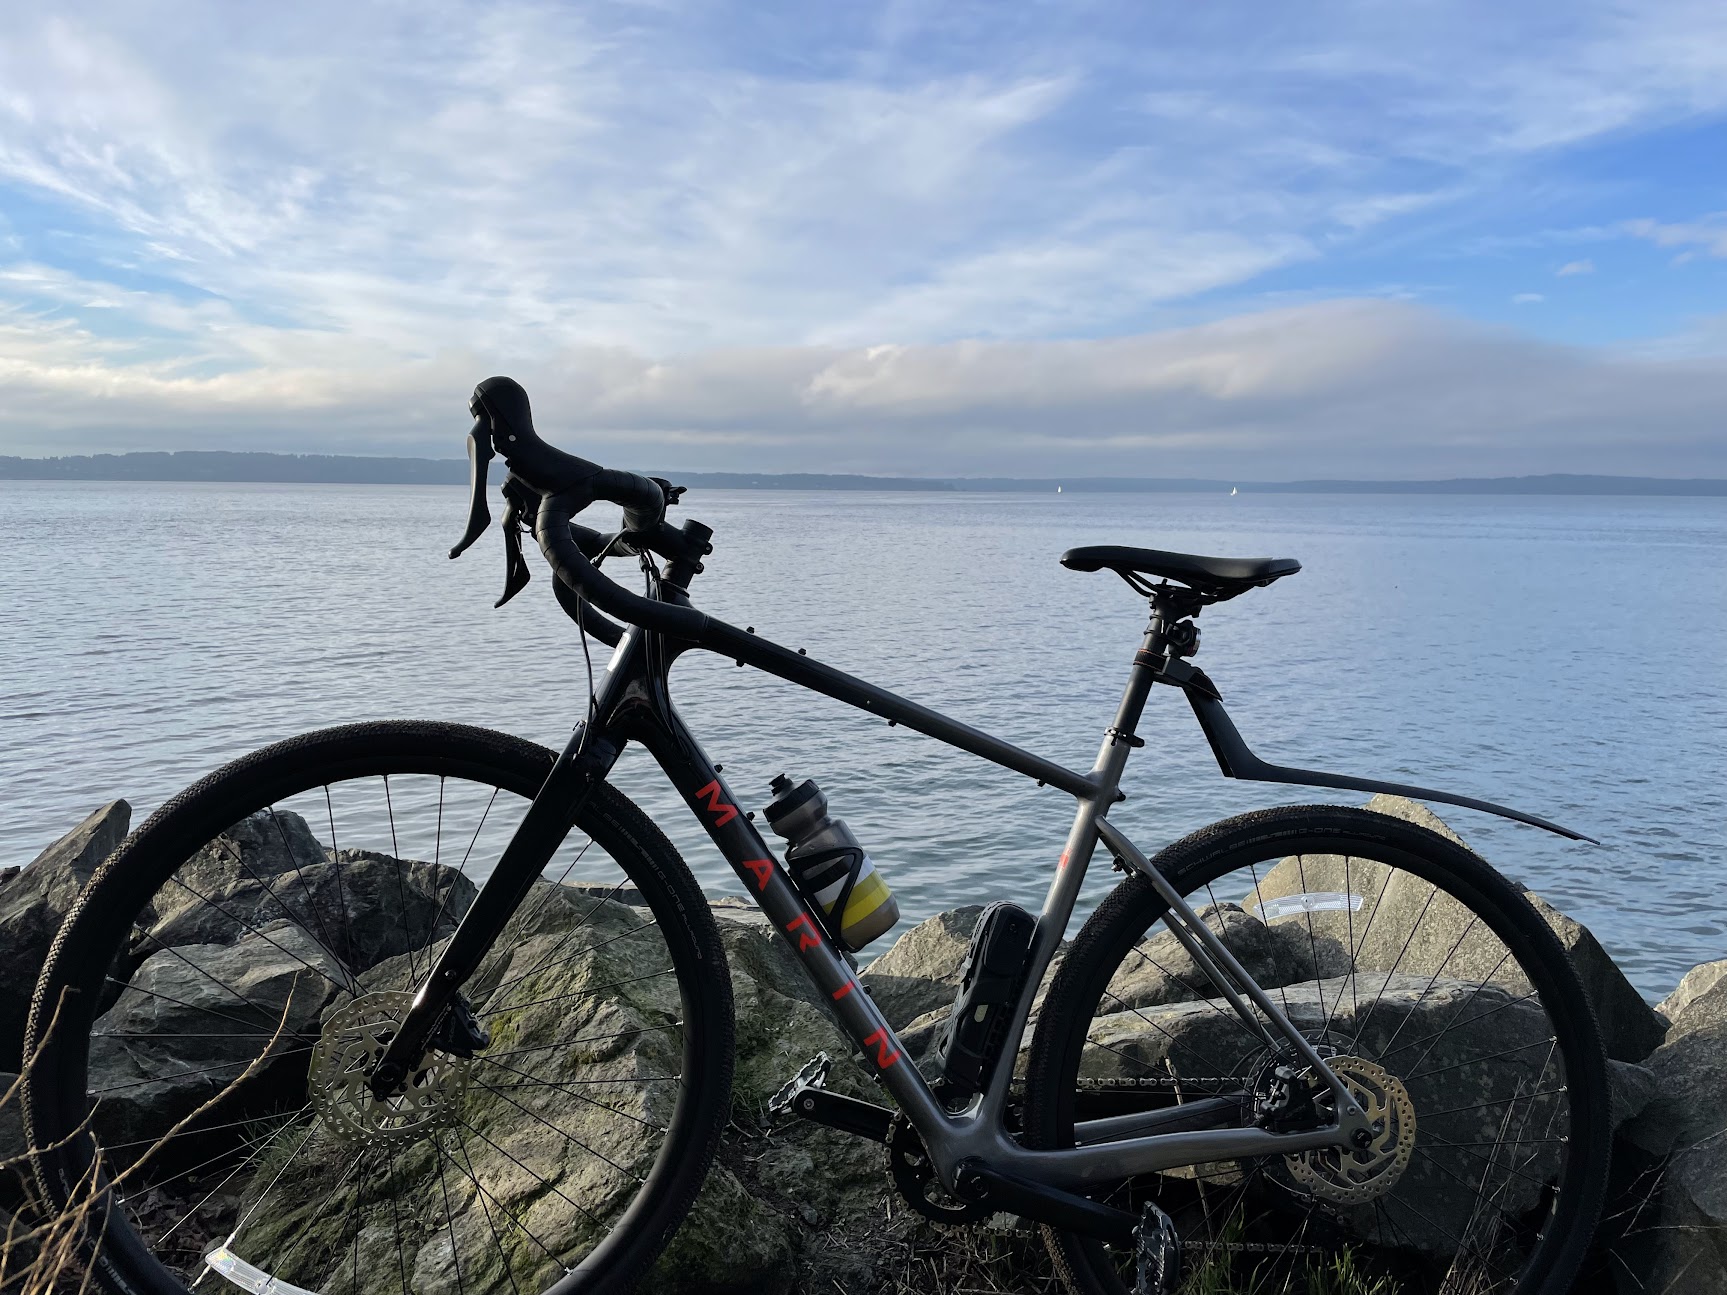
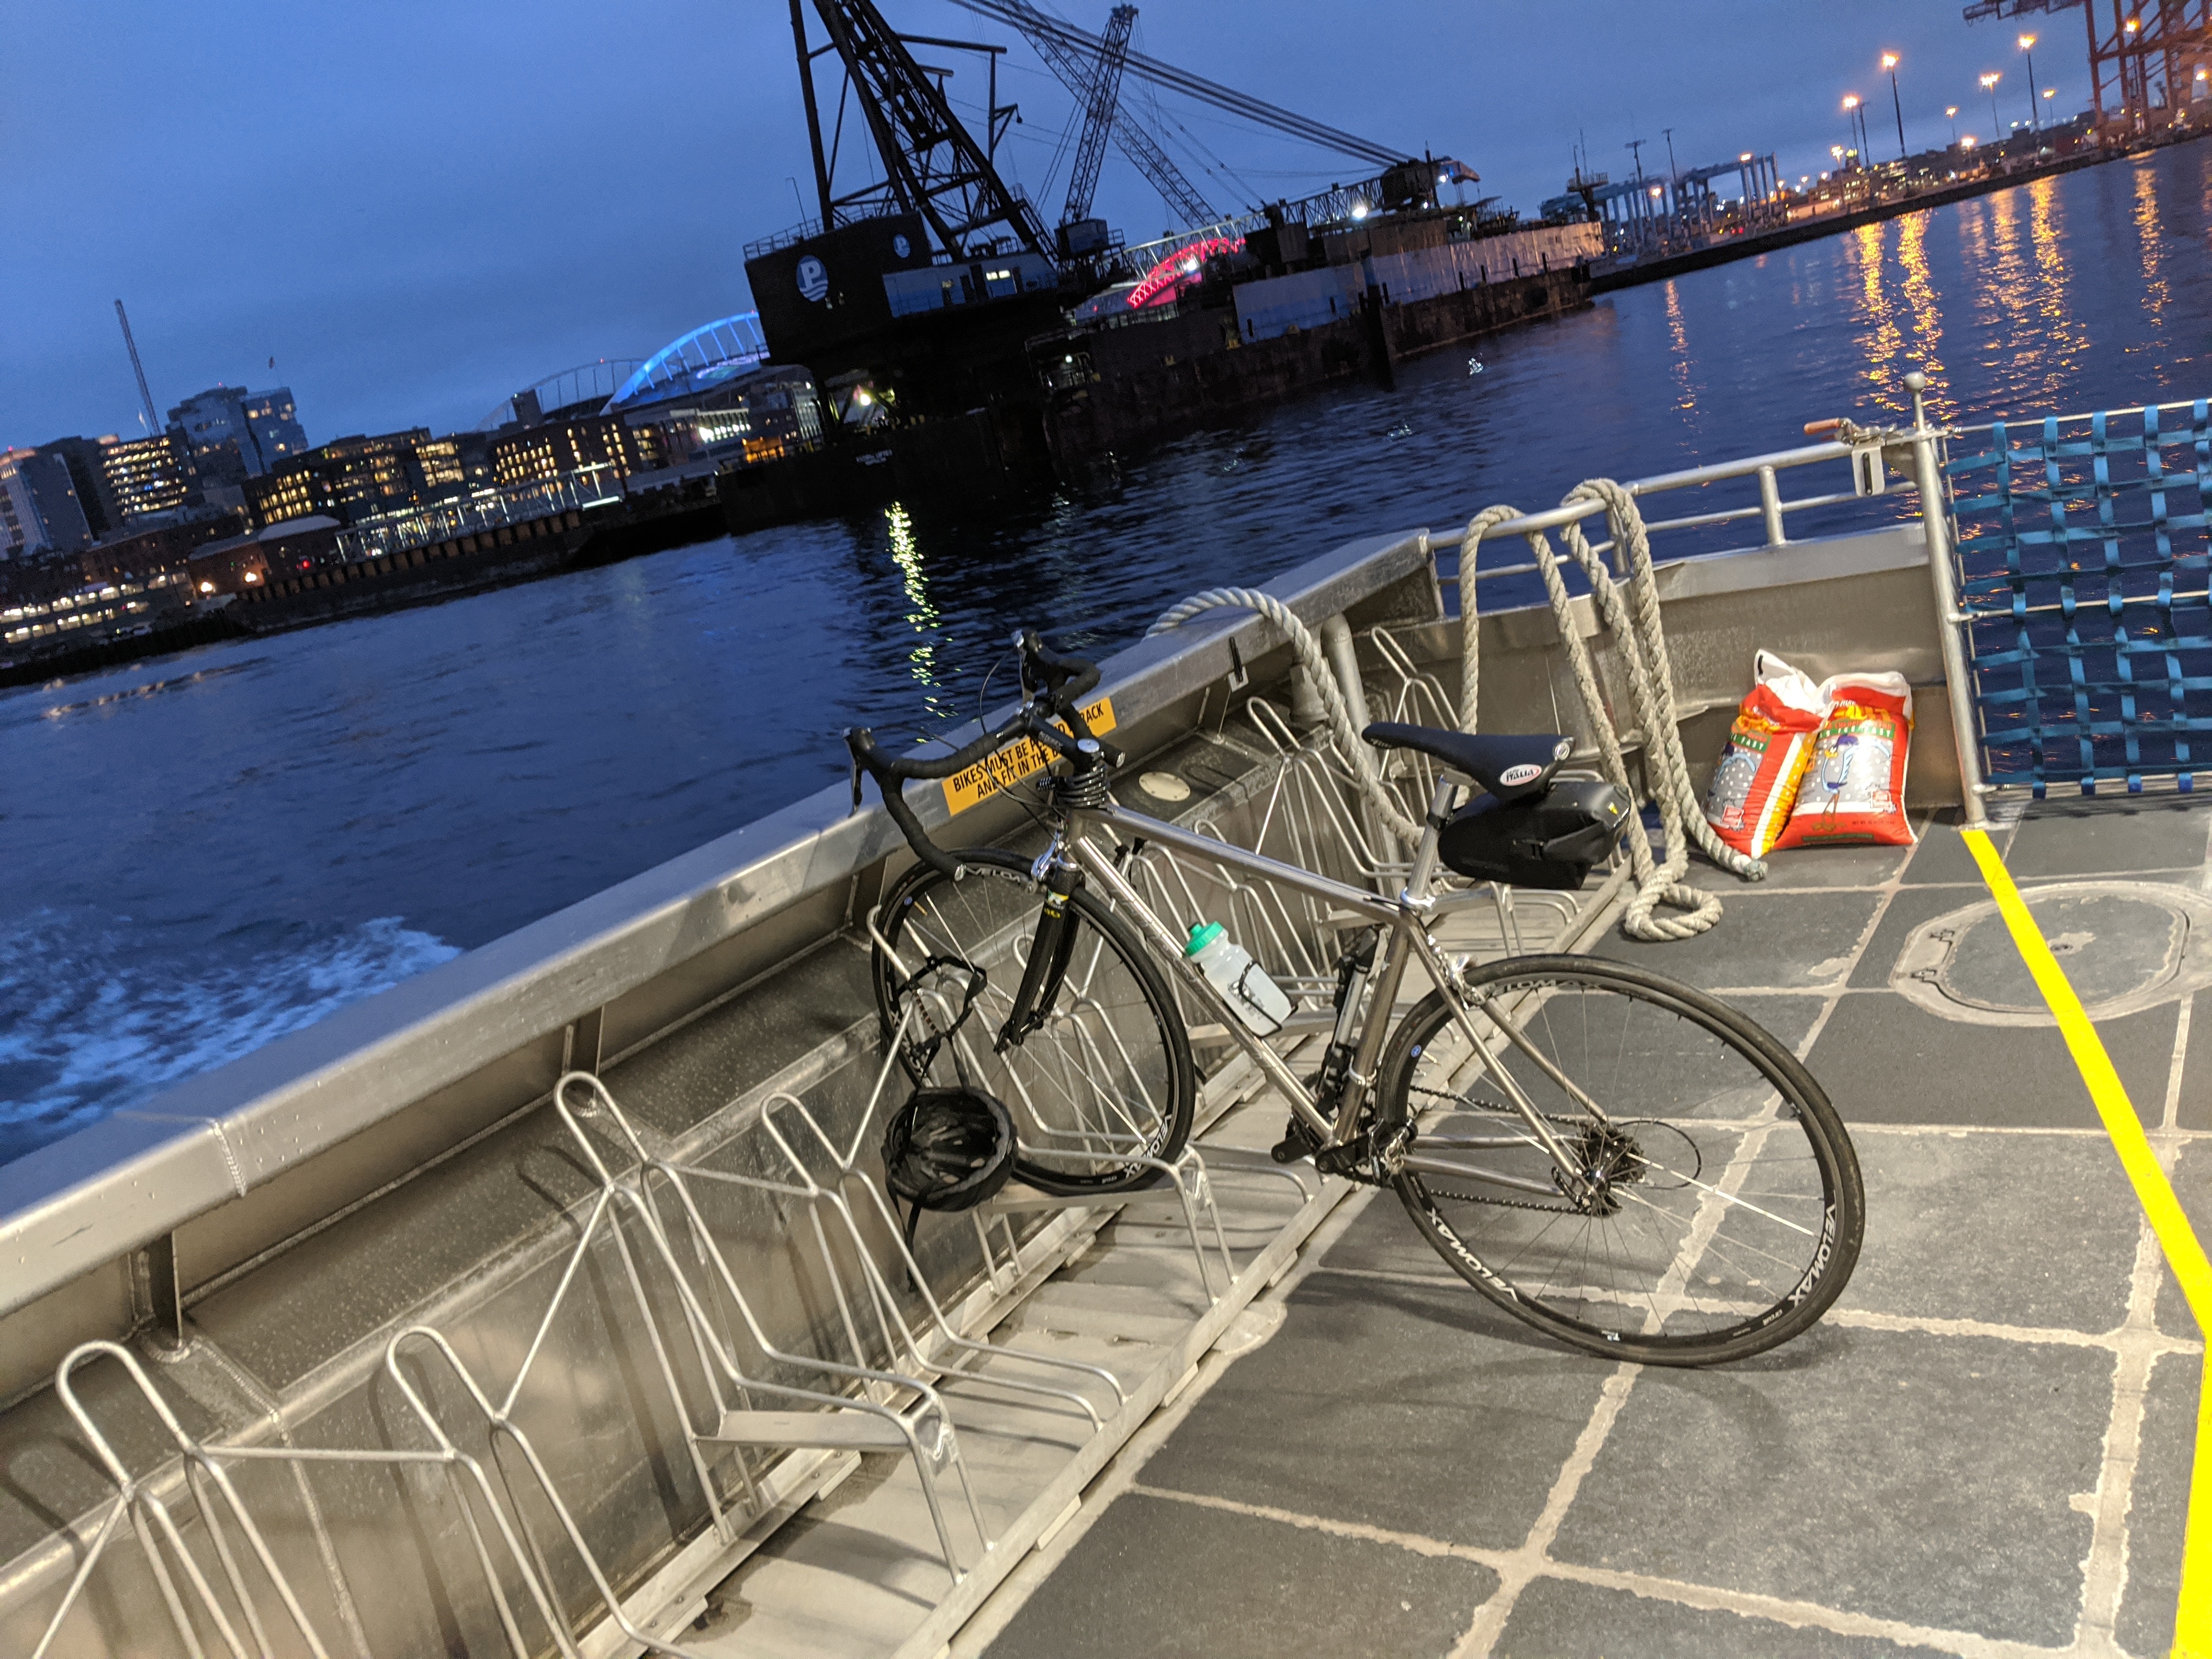
Honestly, I think the titanium one felt the nicest to ride, and I hope whoever stole that one gets some good use out of it!
But, the point is, I was frame-curious, I felt like I tried all the normal things, and then I found out online that you could make bikes out of bamboo, with apparently good ride quality.
You know what comes next, I googled, I found the Bamboo Bicycle Club, and after the idea bounced around in my head for a couple years, I ordered one.
Bamboo Bicyle Club kits
So, there’s people out there who sell you a pre-built bamboo frame (some quite fancy, like Calfee), but I felt like building it myself would be fun, and the most professional-but-still-cheap kits seemed to be the Bamboo Bicycle Club kits. It seemed like the best bet, so I went with it.
This was my first time building up a bike, so I figured I’d keep it simple and just make a fixie, so I ordered the Bamboo Bicycle Club’s Road Frame Kit, borrowed a woodshop from a friend, and got started!
Bill of Materials (initial)
Financially, my initial estimate for the cost was:
| Item | Cost | New/Used |
|---|---|---|
| Frame kit | $560 | New |
| Wheels | $268 | New |
| Crankset | $100 | New |
| Bottom Bracket | $0 | Recycle from Davidson bike |
| Seat & Seatpost | $0 | Recycle from Davidson bike |
| Fork/steam/headset | $0 | Recycle from Davidson |
| Fixed cog & lock ring | $10 | New |
| Chain | $22 | New |
| Pedals | $57 | New |
| Total | $1017 |
The initial plan was to recycle as much as I could from my Davidson bike, since the frame had been damaged but the other parts were largely fine. As a first-time bike-builder, I naively thought re-using parts between two road bikes would be easy, but as it turns out, I had much to learn. As such, well, there’s another chart coming up with the real cost.
Anyway, let’s move on to actually building the thing!
Doing the build

Note that this blog post is written from memory around 3 years after the fact, so some details are slightly fuzzy!
So, the basic process for building the bikes was this:
- Consult a 1-1 drawing (provided with the kit) that included dimensions for how deep each bamboo piece should be fitted into each lug
- Whittle and sand down the bamboo wood until it fits into the lug (shaping)
- Once everything fits together, glue all the ends into the lugs, let it dry
- Apply a waterproof coating
- Frame done! (well, in theory at least)
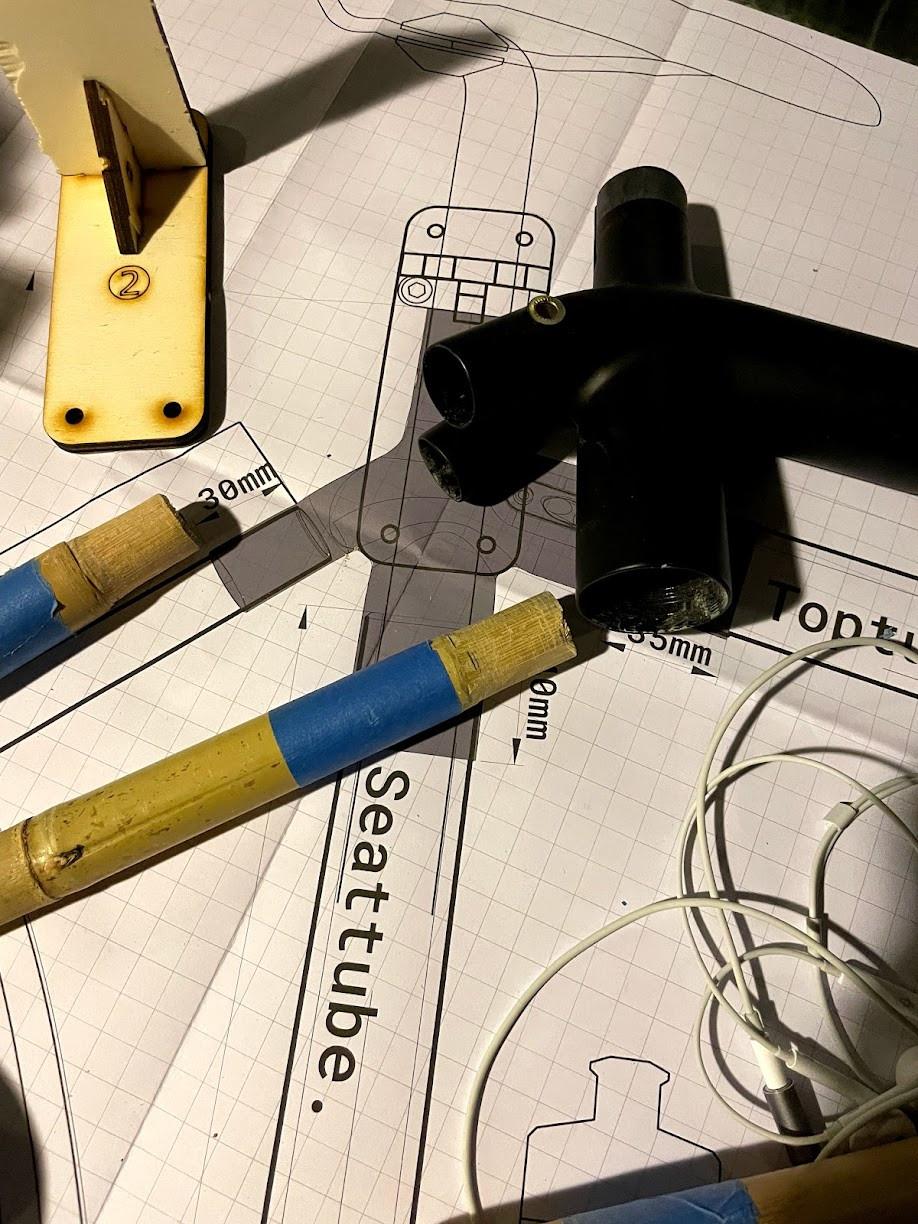
Unfortunately, I hit problems here….
Failure 1: Misaligned frame
There were actually multiple things wrong here! Let me simply quote the email I sent to the Bamboo Bicycle Club:
To: info@bamboobicycleclub.org
Subject: Road Carbon Frame Build - some measurement and alignment issues
Hello!
I purchased a road carbon frame kit a month or so ago to build a single-speed bamboo bike.
I took some notes of issues I ran into along the way, and I also ended up with a misaligned rear triangle.
First, I’ll talk about the few issues I ran into:
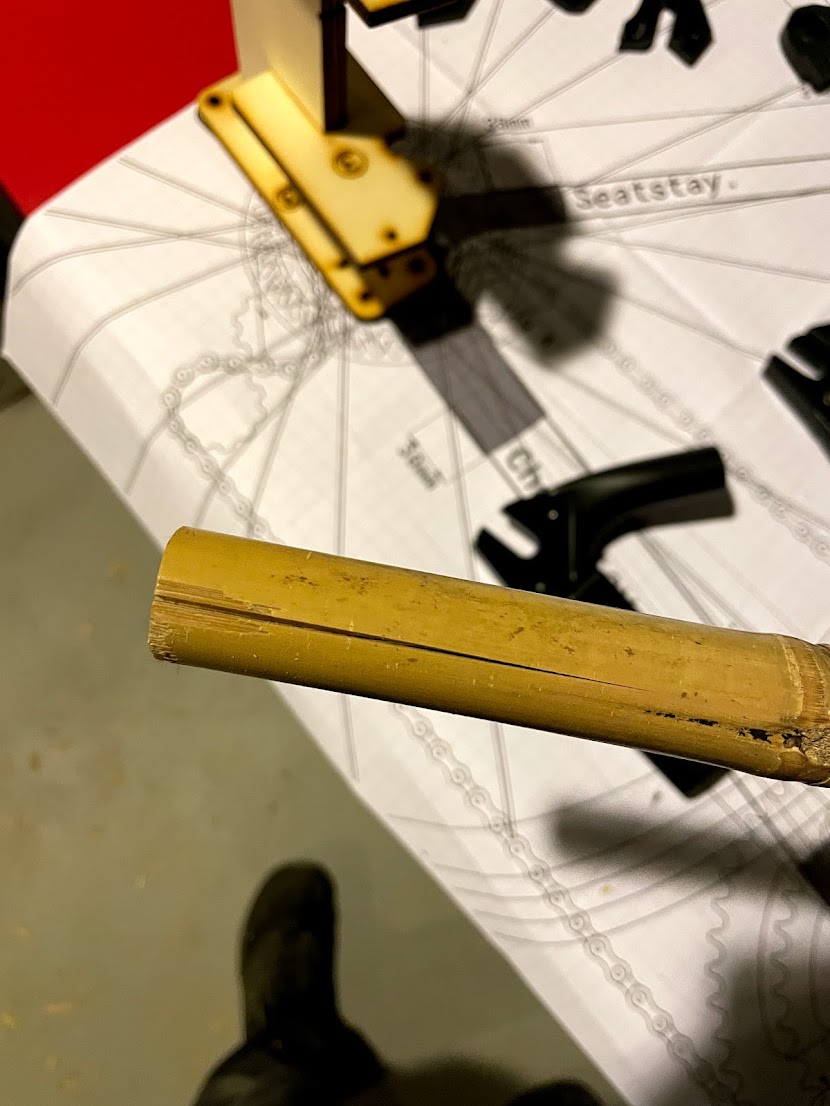
One of the provided seatstays already had a crack in the bamboo before I did anything
Q: Is that okay and normal? After sanding and glueing, here’s what the crack looks like:
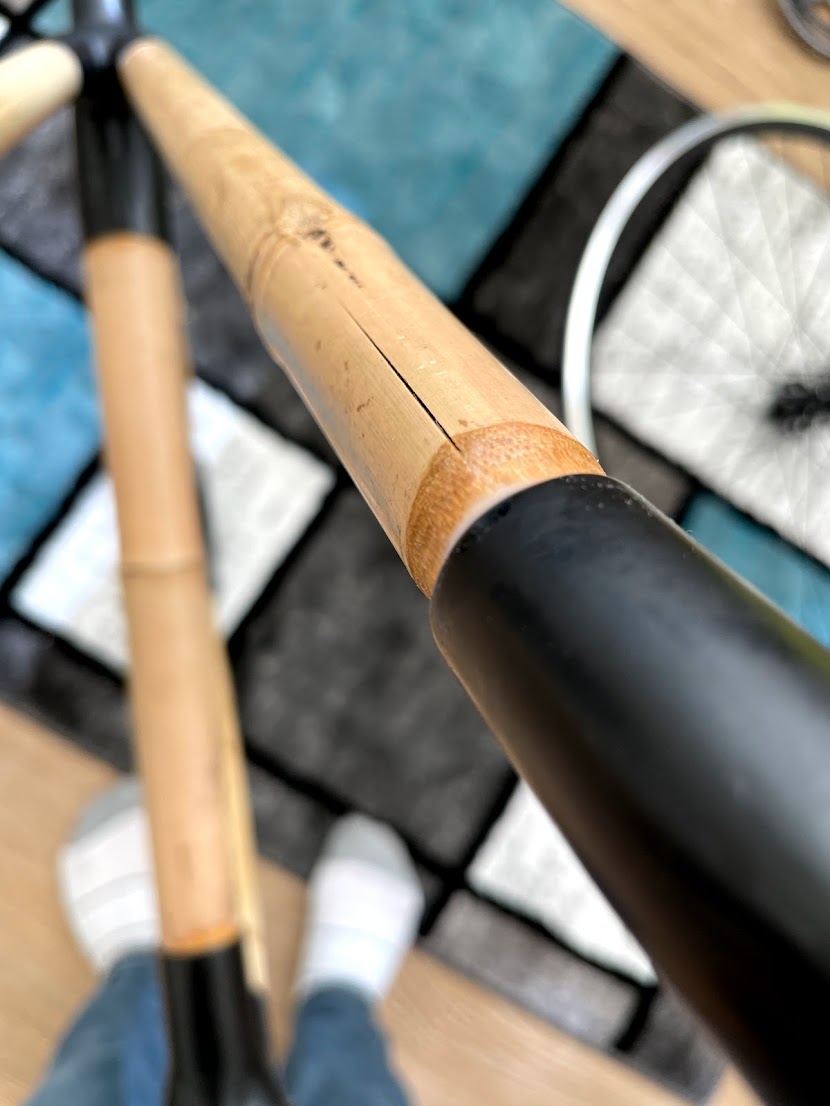
While sanding and fitting the top tube, a small crack developed in that lug
Q: Is that okay? I’ve heard horror stories about carbon fractures leading to it shattering down the line.
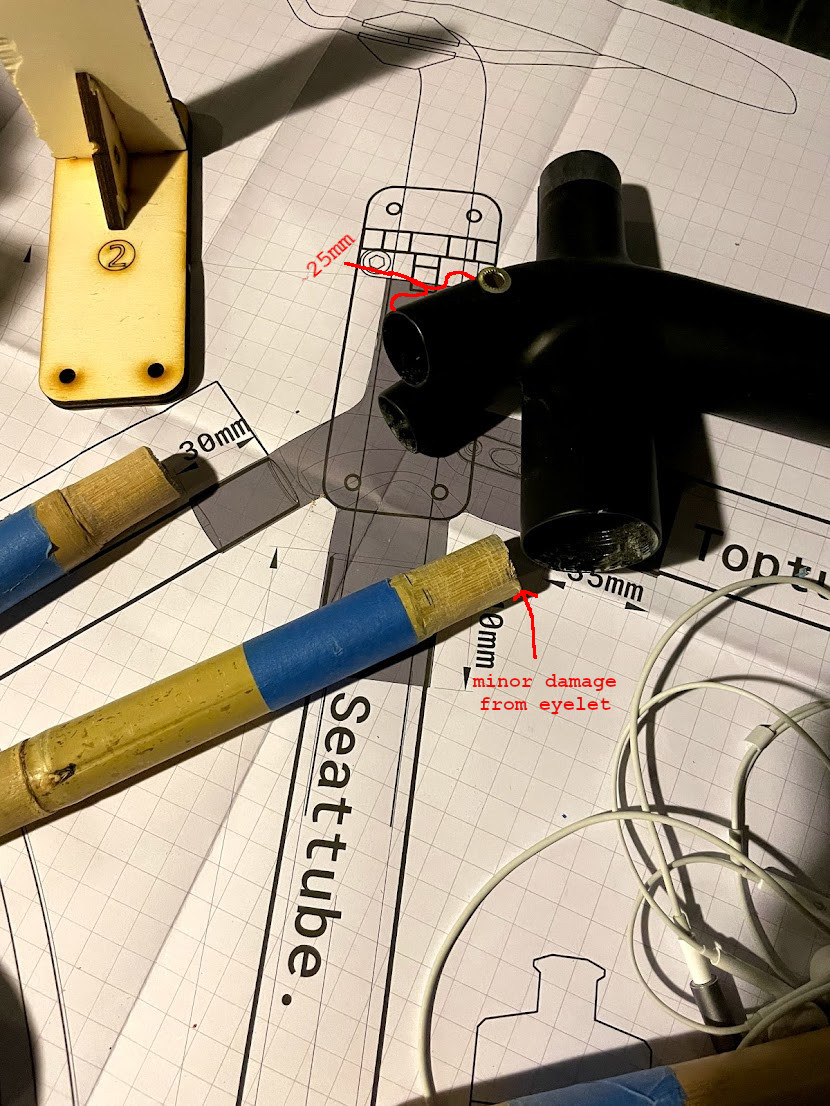
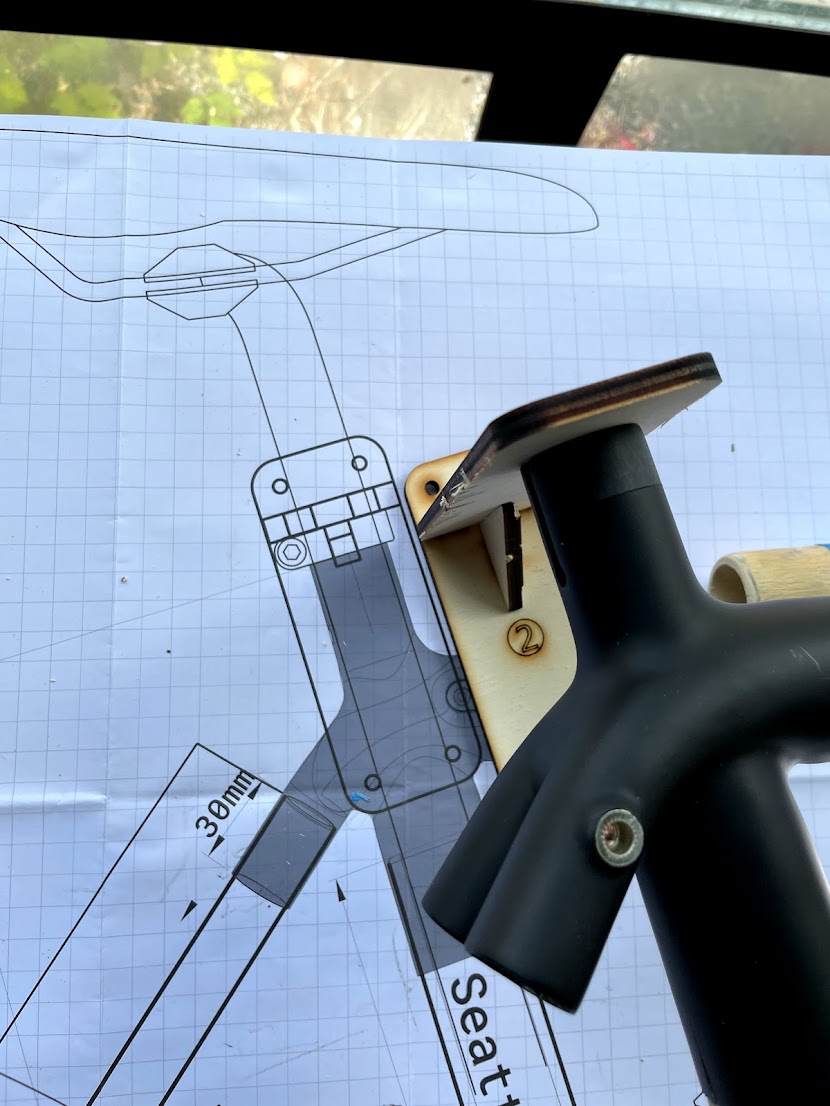
The 1-1 drawing marks that seatstays should fit 30mm into the seat lug, but the lug also has eyelets 25mm in that extend far enough the bamboo can’t fit 30mm deep into the lug.
Because of that, I over-shaped the seatstay tubes a little, trying to make them fit 30mm in. This also caused minor damage to the end of the bamboo as I tried to get it to 30mm, and the eyelet pressed into the bamboo unevenly.
The ‘30mm’ for the chainstays into the rear dropout lug was also off since the lug had a hard stop at around 28.5mm. (No picture for this one, but measuring the depth of the rear dropout lug’s holes with calipers should confirm).
The seatpost jig is marked slightly wrong on the diagram I think? Either way, I had to move the seatpost jig down or else it would not fit in the seatpost hole. I’m pretty sure the seattube was the marked length on the 1-1 diagram, so I don’t think it was just that being off.
Finally, let’s talk about the rear triangle alignment.
After glueing+drying the frame, and then putting on the horizontal dropout and rear wheel, the wheel can’t be trued. There’s a roughly 1/8 inch difference in the length of the seatstays (probably due to my mistakes mentioned in issue 3 above), and the wheel, no matter how I shift it within the horizontal dropouts, won’t align along the same vertical axis as the seat post. Either the top or bottom will rub once I put on a tire. Pictures don’t show it very well, but I’ll include one anway. Below, you can see that the wheel is centered between the chainstays, but curves right and nearly touches the right seatstay.
Is there any way I can fix this rear triangle alignment issue without starting over with a new kit/frame?
I still really want to have and ride a bamboo bike, but I’m also quite worried this alignment issue means this frame isn’t usable.
I’ll repeat the questions with numbers here, which will hopefully make it easier to reference back to them (and they’re now in a difference order, order of importance to me):
Q1: Is there a way to fix the rear triangle alignment issue I have? Do I need to start over and use this as a learning experience on the next frame?
Q2: Should I be concerned about the small crack in the carbon fiber lug (issue 2)
Q3: Should I be concerned about the pre-existing crack in the bamboo (issue 1)?
Thanks in advance for any help or advice,
Best,
Euan
Kit 2 — Bamboo Boogaloo
So, what was the result of the email above? Well, not great in my opinion. They offered to send me replacement bamboo material if I could dremel out the already-glued-in bamboo, or alternatively said I could buy a new kit at a 30% discount.
I went with the new kit… and as soon as it arrived, my worries about the previous one were confirmed. In the email, I noted that the seatstay’s lug had a depth of 25mm, rather than the 30mm shown on the diagram.
Guess what the measure of the new frame’s seatstay’s lug was?
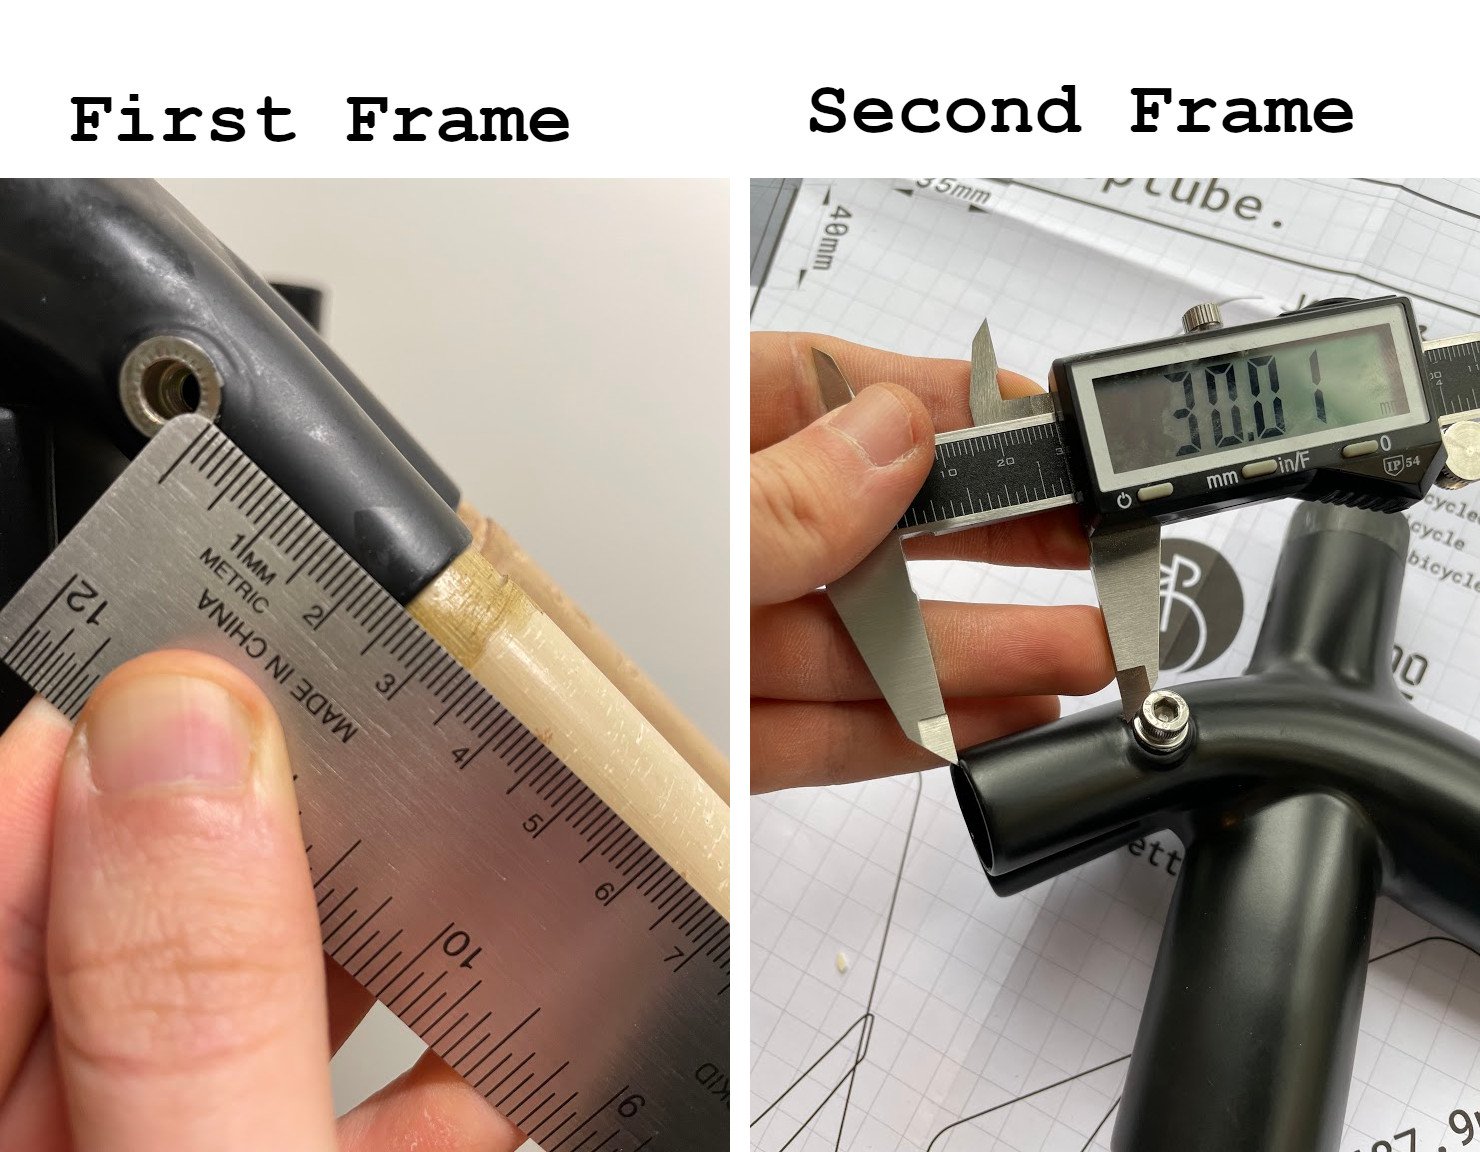
Yup, the new lug matched the diagram! Even though I ordered a “medium” size kit, it seems like the first kit had a mix of “medium” and “small” size components, as best I can tell.
I emailed this information back to the Bamboo Bicycle Club, and got a request to send an image (which I already had, the one above), and then got entirely ignored when I re-sent the image again and asked whether the difference had been intentional.
In short, I paid for a second kit to find out the first was detective, and then got stonewalled when I asked about it.
Kit 2 — Build
Well, regardless, I had a second kit so I was going to build it.
The key change I made this time was to use the actual wheel while the glue was drying, instead of the balsa wood jig included in the kit.
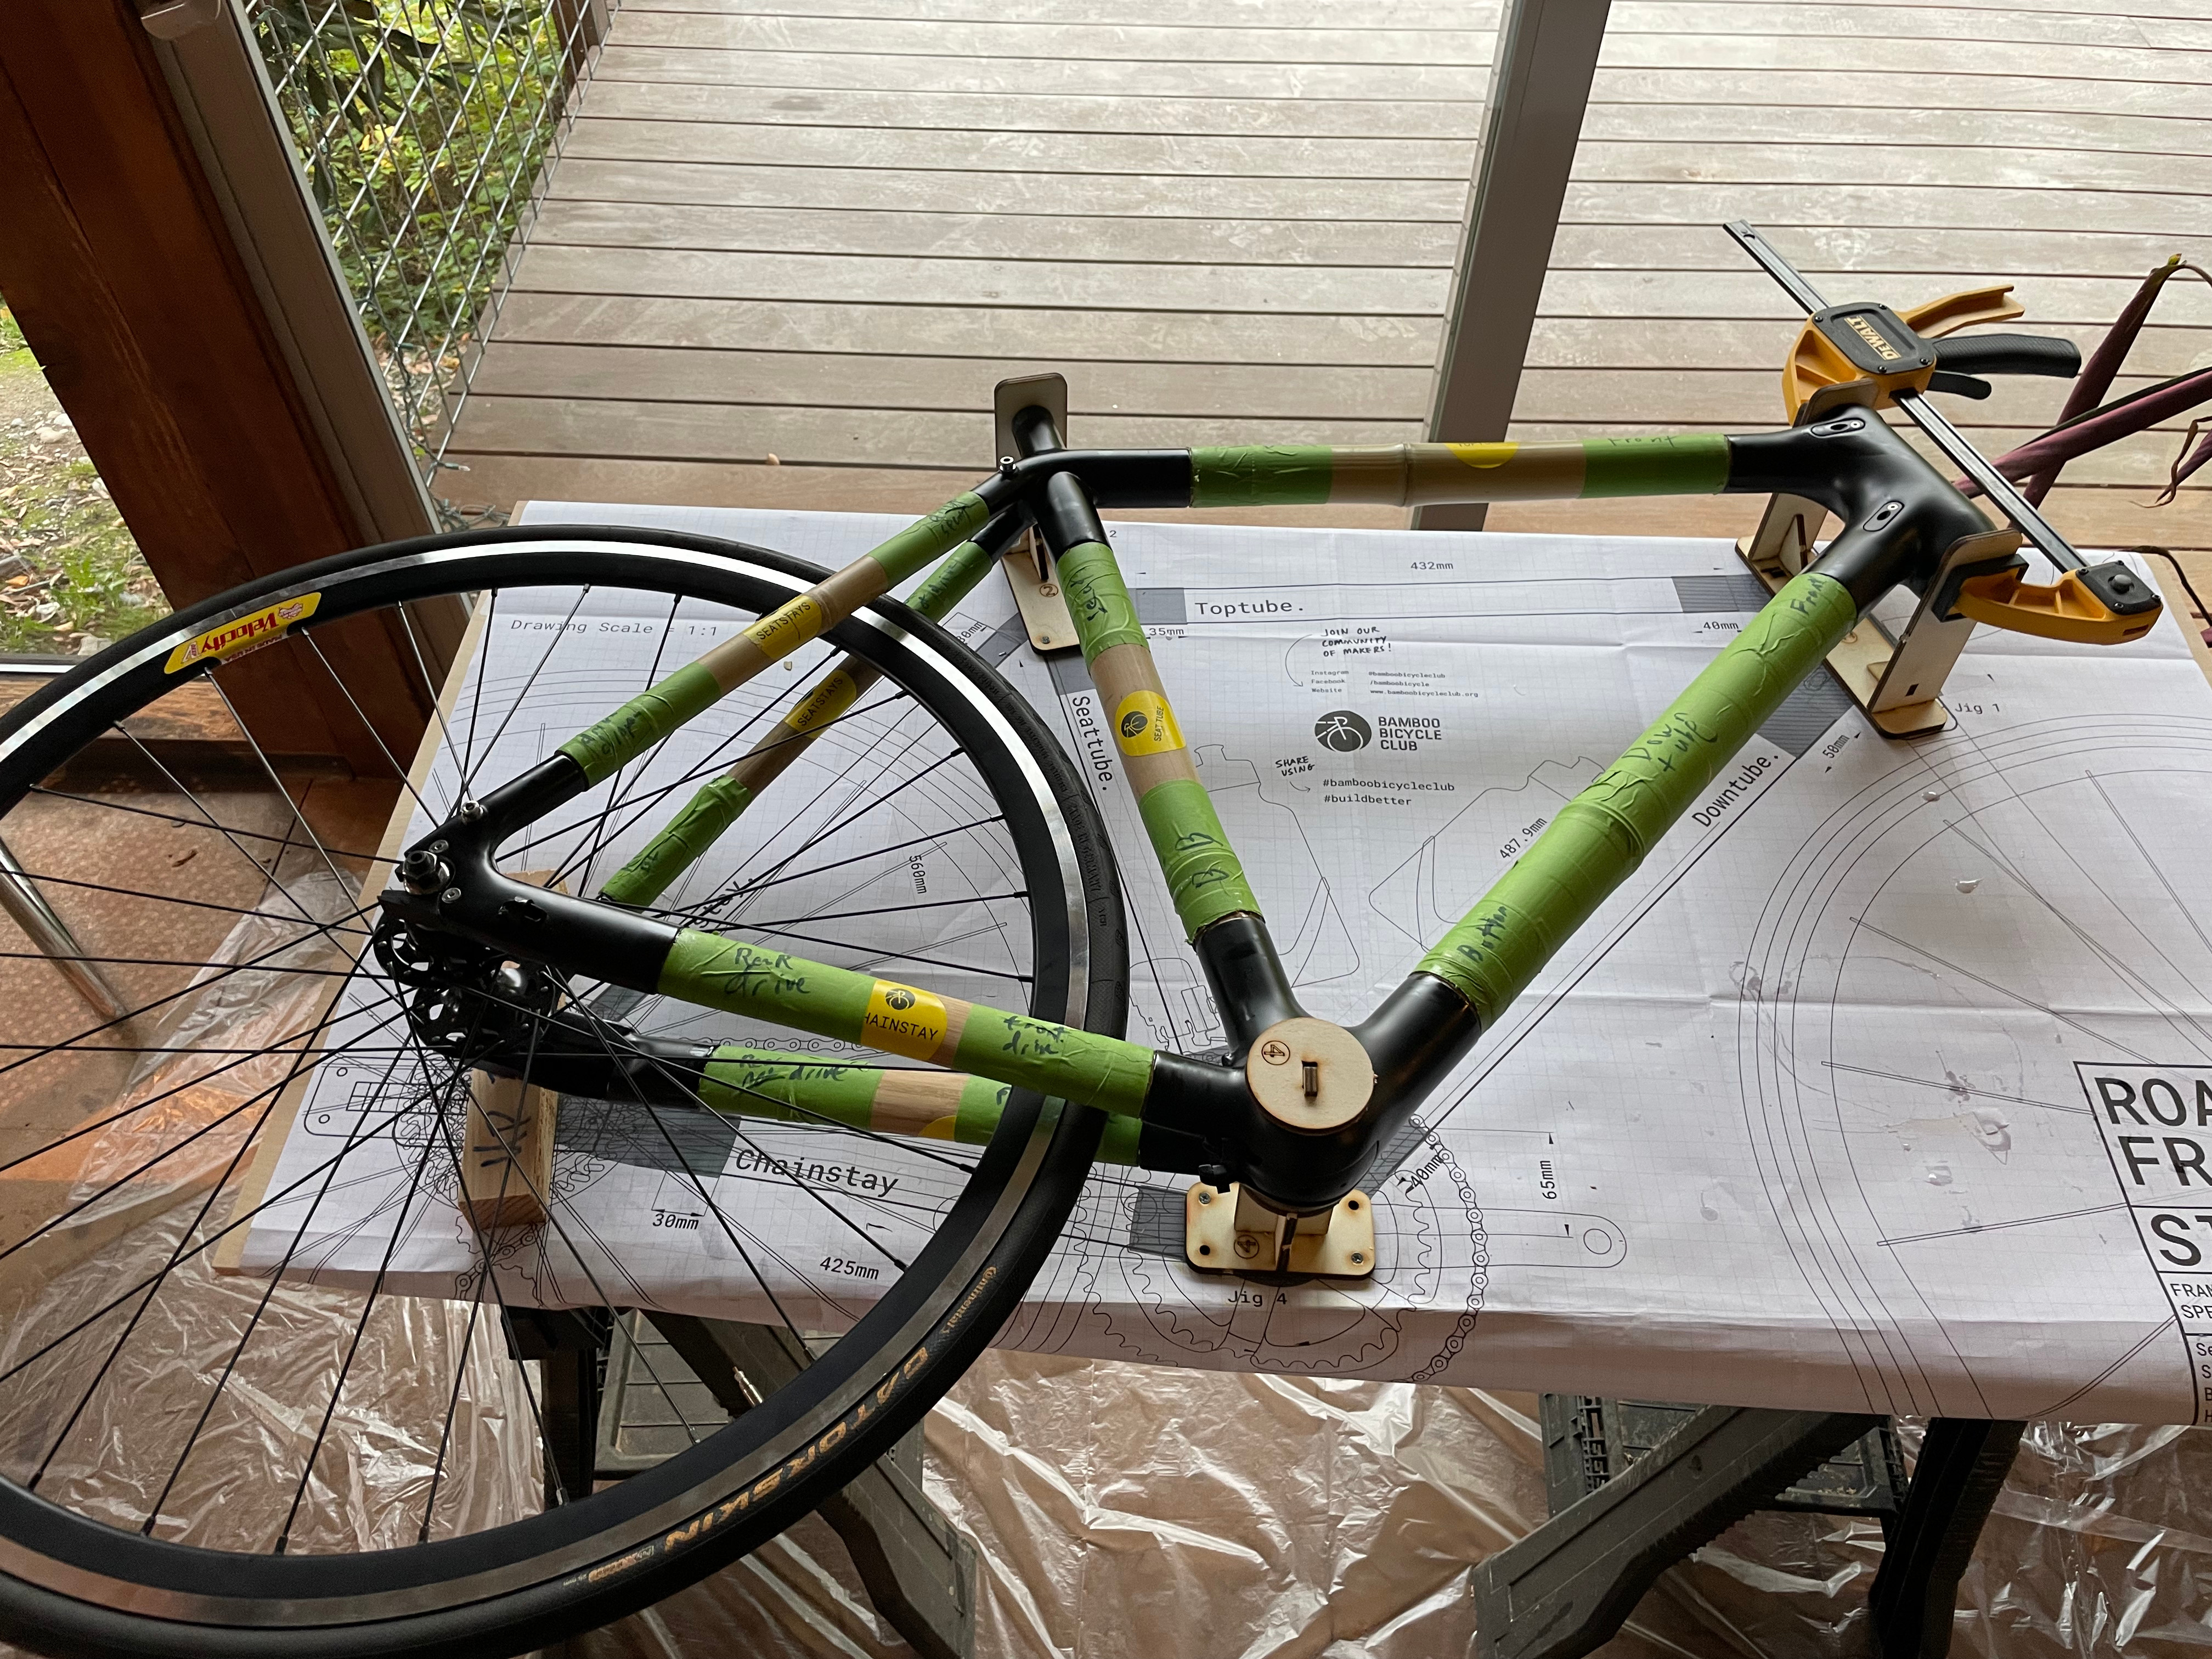
This worked wonders!
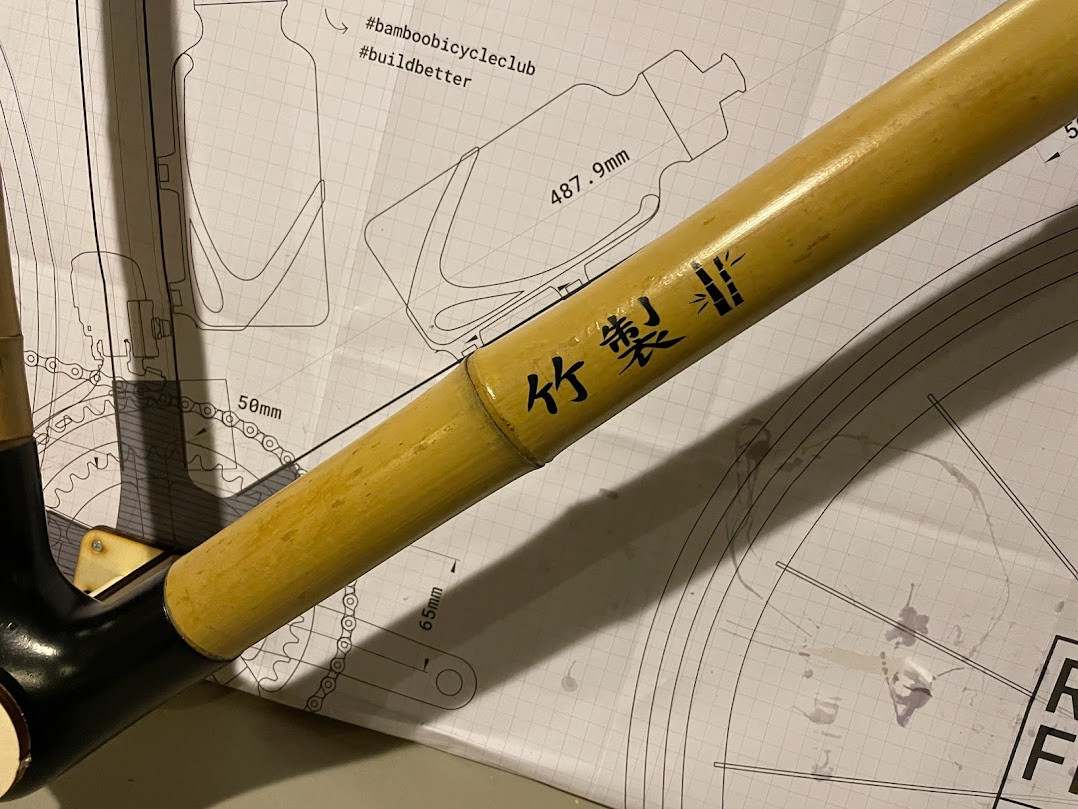
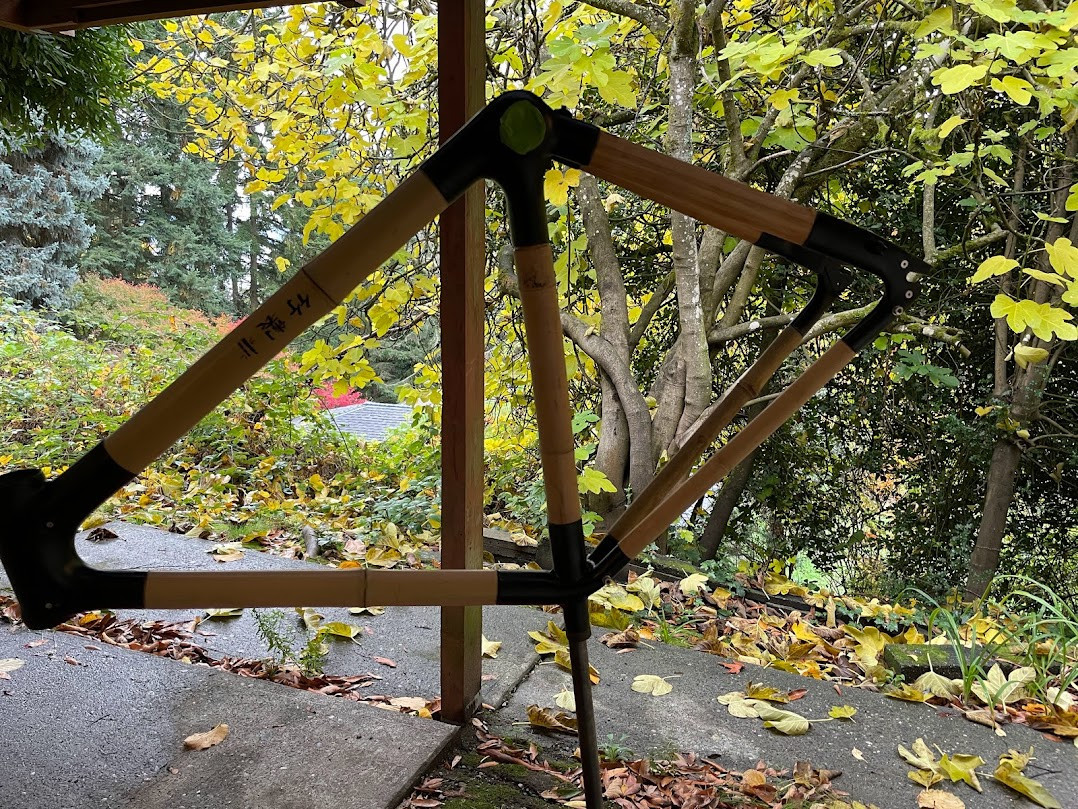
From there on, the remaining bits of the frame were smooth sailing. I applied a custom-printed decal (saying 竹製, Japanese for “Made of Bamboo”. Ignore the one missing stroke please), sprayed on a clearcoat for weather protection, and we had a bike frame!
Built Bike
From the frame, building the bike was relatively straightforward. The main important realization here was that my original plan, to recycle parts from an old steel bike, was doomed to failure. The steel bike had a quill stem, but the kit required an integrated headset, bottom bracket incompatible, etc etc.
After getting through those small hurdles though, I ended up with this beauty!

Final Cost
Let’s look at the final cost! It was definitely more than I expected!
Note, all the items from ‘Frame kit (2nd one)’ on are new to this table!
| Item | Cost | New/Used |
|---|---|---|
| Frame kit | $560 | New |
| Wheels | $268 | New |
| Crankset | $100 | New |
| Seat | $0 | Recycle from Davidson bike |
| Fixed cog & lock ring | $10 | New |
| Chain | $22 | New |
| Pedals | $57 | New |
| Seatclamp | $10 | New |
| Seatpost | $28 | New |
| Frame Kit (2nd one w/ 30% discount) | $395 | New |
| Bottom Bracket | $25 | Used from Recycled Cycles |
| Headset | $15 | Used from Recycled Cycles |
| Carbon Fork | $70 | Used from Recycled Cycles |
| Stem | $10 | Used from Recycled Cycles |
| handlebars | $20 | Used from Recycled Cycles |
| Total | $1590 |
So, how did it ride?
My initial impressions riding it were good. It felt a little on the stiff side, which was totally fine for a dedicated road bike! Even doing skid stops and generally treating it like a normal fixie, it felt solid and fun to ride.
After having given it a try, I did quickly realize that for ride-quality, I think steel feels better to me… but the novelty factor of riding a bike made of bamboo, and the knowledge that I built it myself (and the sunk cost fallacy lol) all kept me happy riding it.
For a time at least…
Cracks Start Showing
Unfortunately, the story doesn’t end here. I rode the bike frequently during the Fall, and then as happens in Seattle, Fall turned into the cold, rainy, dreary winter, and I left the bike inert in my apartment.
Seems like a safe place to leave a bike, right? I only had one person break into that apartment (in 2 years), so I figured it’d be safe there.
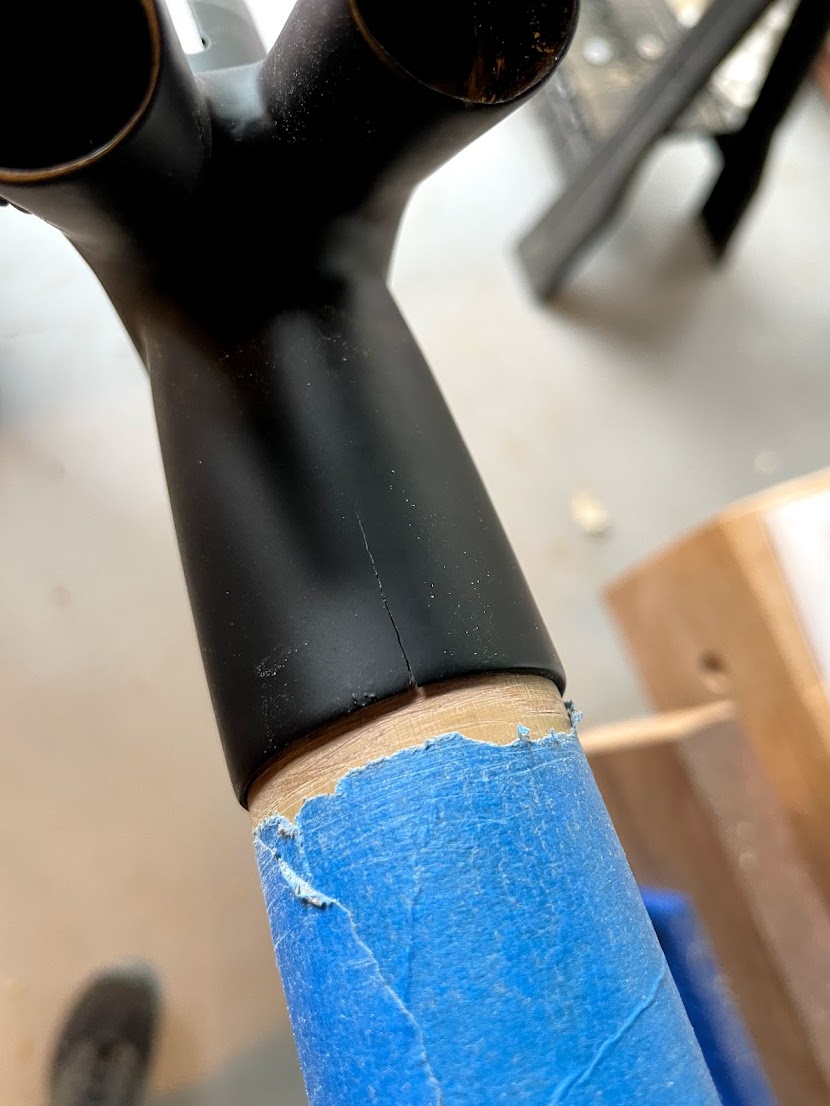
Well, apparently not safe from uh… spontaneously cracking?
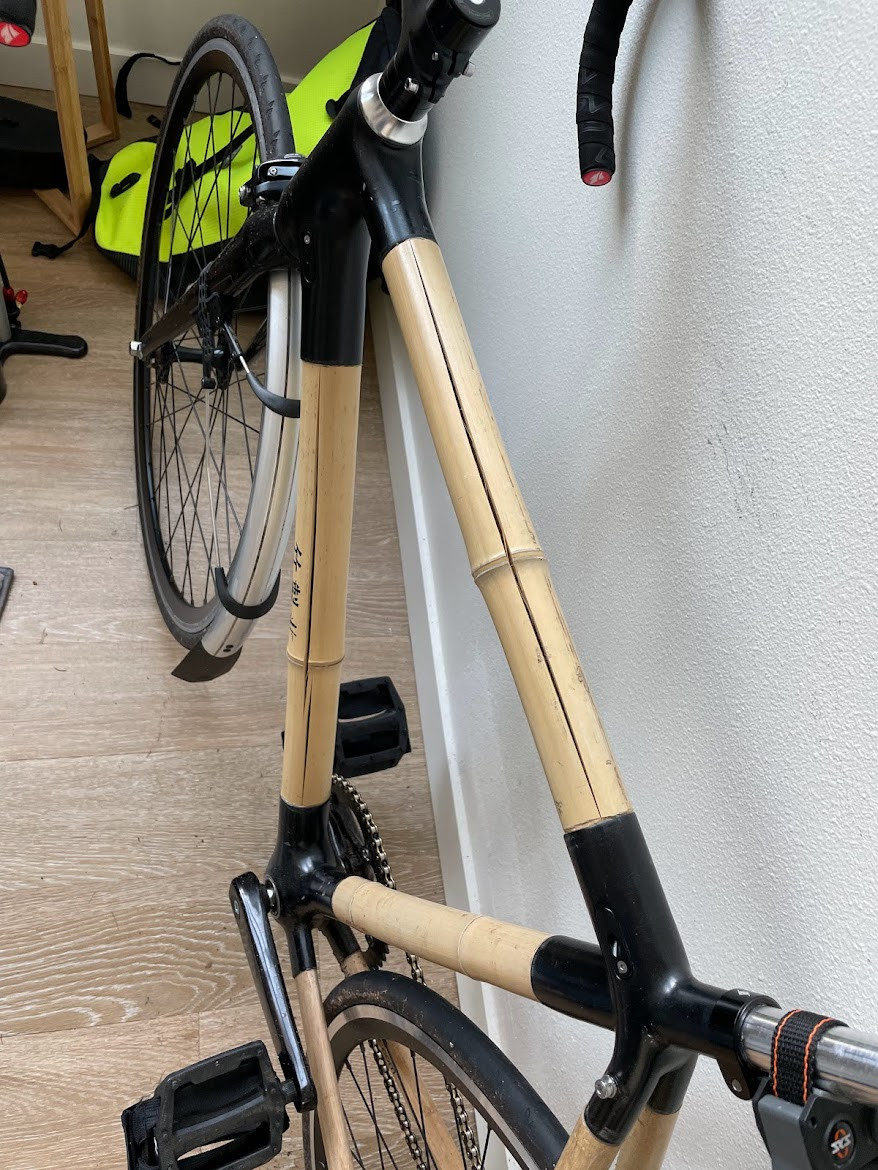
One day, the above cracks simply appeared. I hadn’t ridden the bike for around 3 weeks at that point, and the cracks really did just appear without even touching or moving the frame. Honestly, I was a little spooked.
The cracks, combined with the ride quality being “not as good as steel”, led me to rebuild the bike as a steel-framed fixie instead, and mark this down as a fun learning experience.
The cracks may not actually be dangerous, but I’m not 100% sure, and at the least I’d need to fill them in and redo the clearcoat to waterproof it again. It seemed best to me to just consider this the conclusion of the project!
Bamboo Bicycle Club Review
Overall, 4/10.
Building the bike was fun, and an adventure. I felt that the jig provided for the rear triangle was quite fiddly, but overall the build process was the most fun part!
The customer service, and the fact that I was given incorrect parts and not offered a full replacement for the company’s fault (but rather my emails were ignored), detracted considerably from the overall experience.
The email chain with the Bamboo Bicycle Club was also quite frustrating, and several times made me feel as if my own emails weren’t being read.
The bike itself was fun to ride and had an interesting aesthetic, but since the frame spontaneously cracked after only a short 2 months of riding it, I have to really detract major points on the “bike” aspect of the bike.
In conclusion, steel is strong! I still love bamboo as a material, just not for things I’m trusting my life to while hurtling down the bike path at 40 km/h!
Extra — Turning the failed frame into failed art
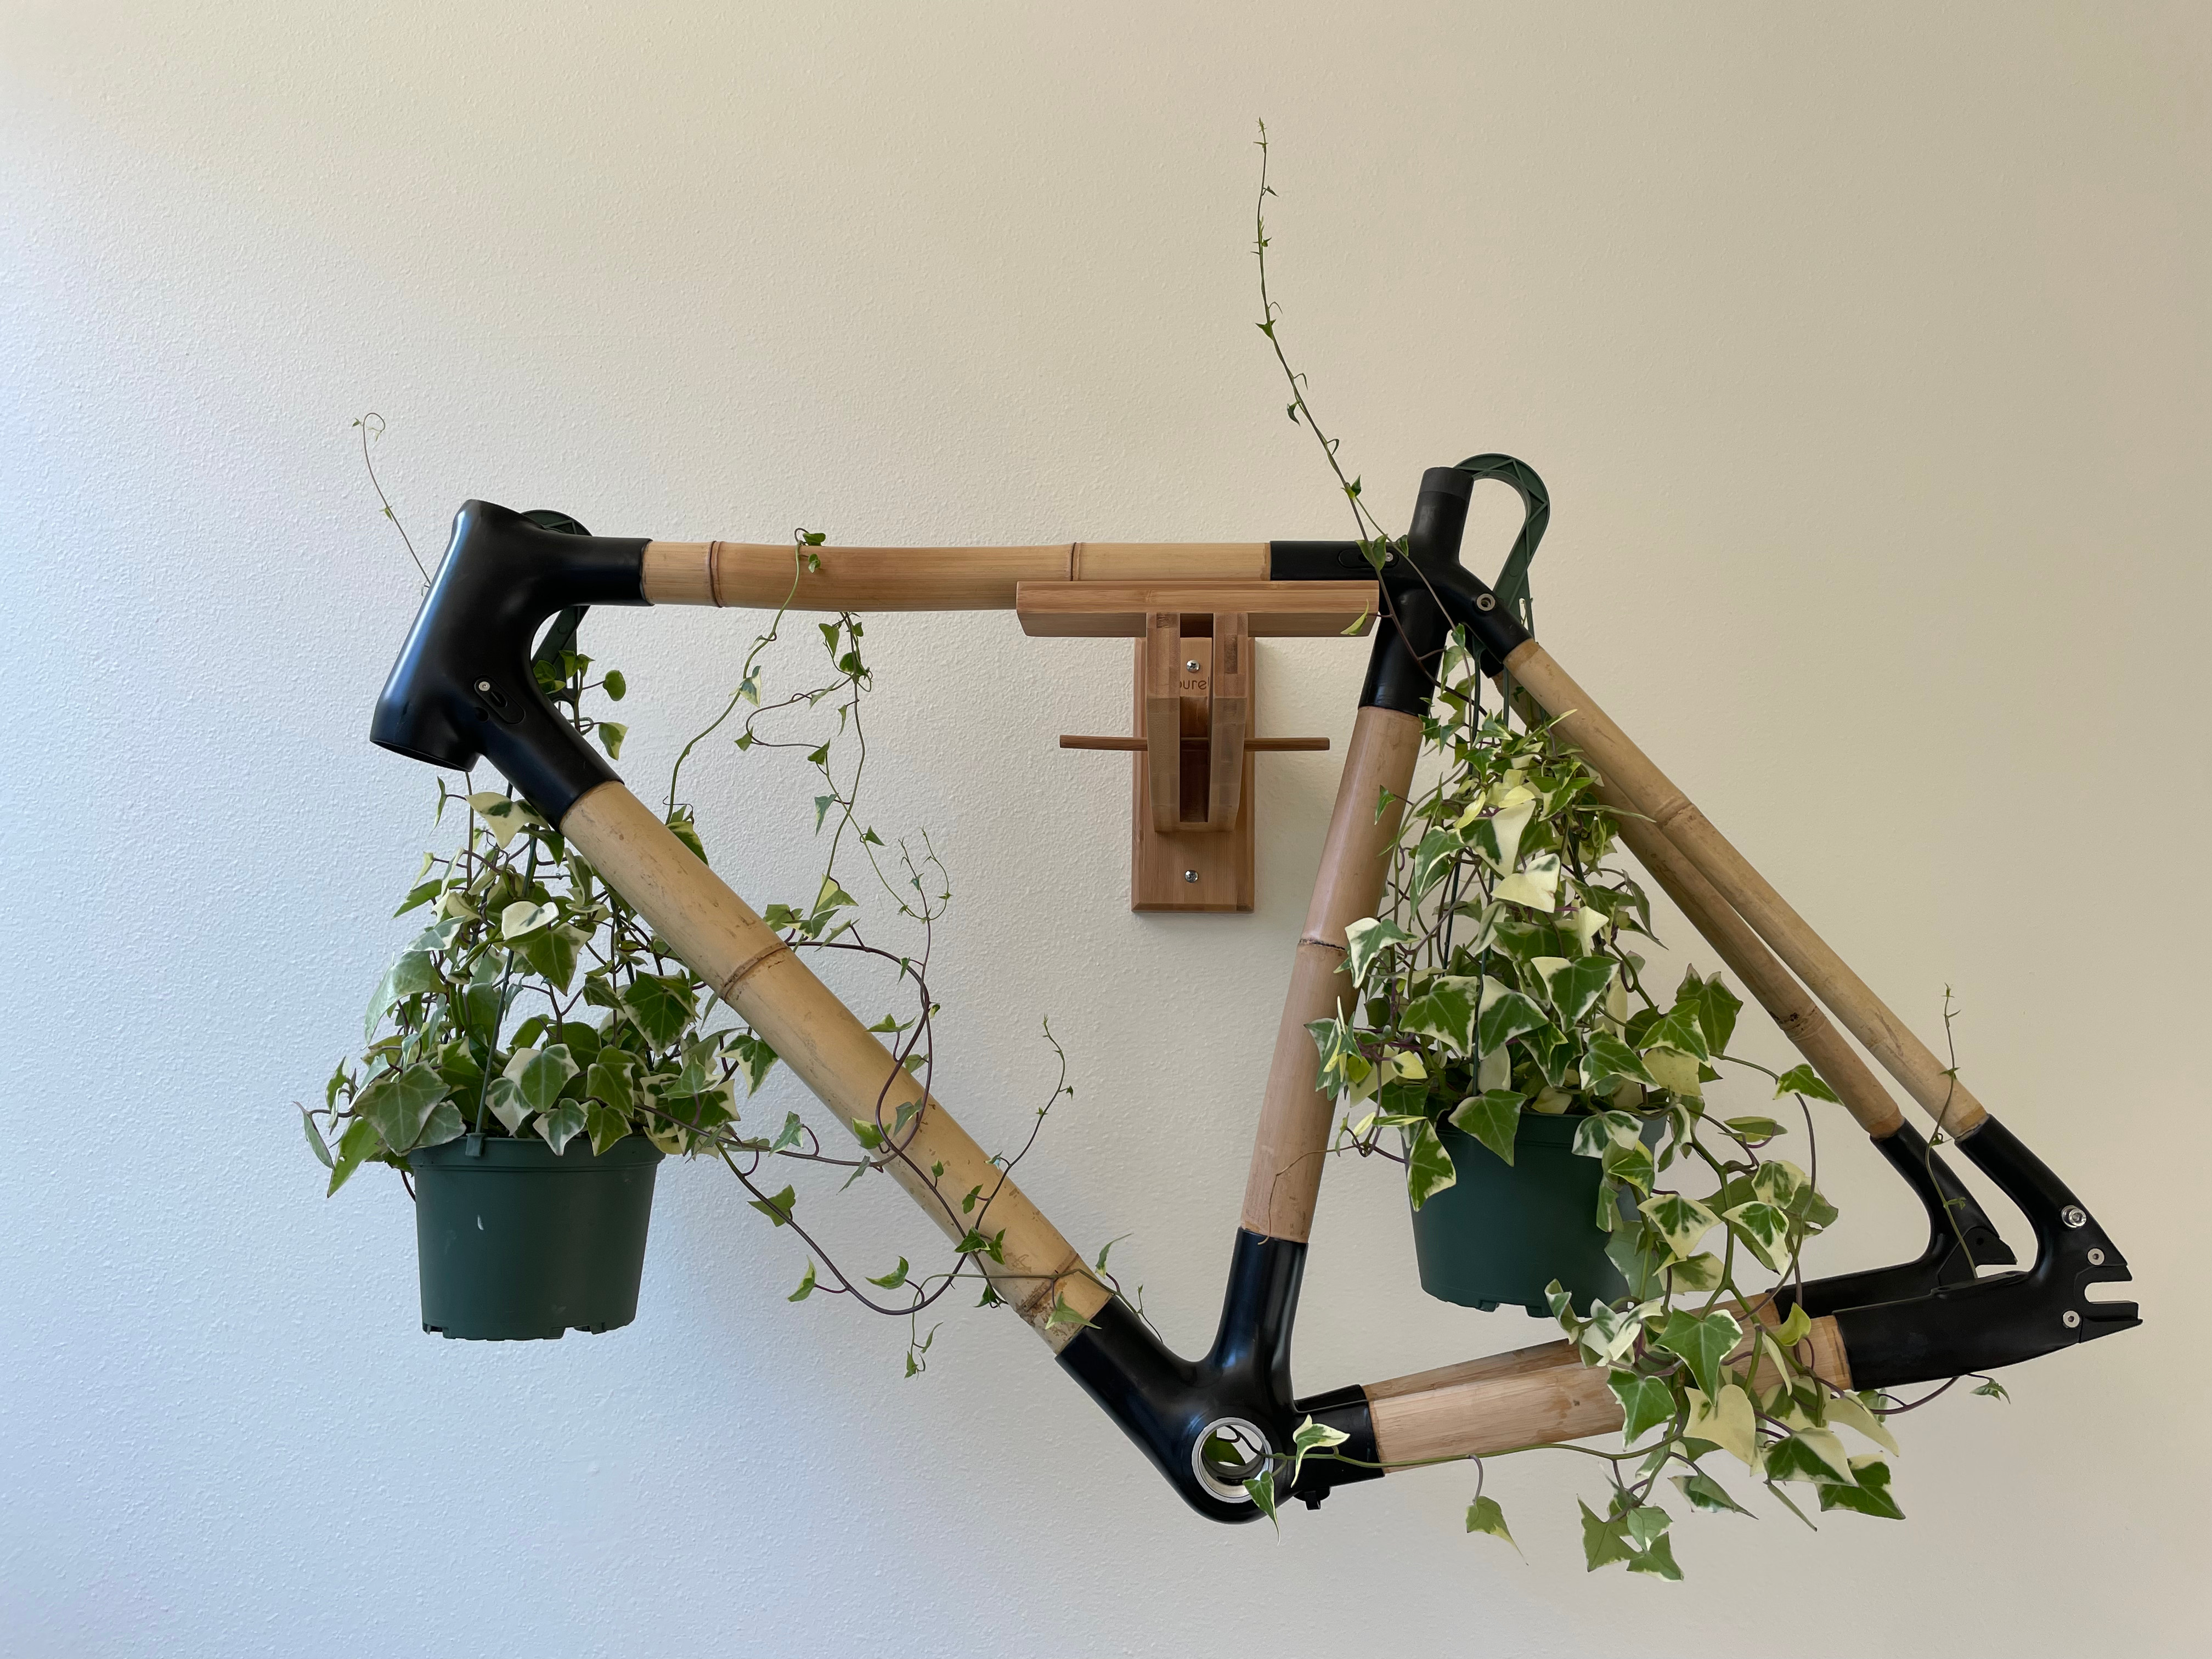
When the first frame wasn’t viable, I thought a little about what to do with it… and I came up with trying to turn it into a piece of weird art. So, naturally, I hung it on my wall and added some vines :D
I consider it a failed attempt at art because the original vision had a lot more vines reclaiming a lot more of the frame, but hey, art is art, so be it.
Tragically, this art project was unceremoniously halted by moving to Japan. You will be missed, old frame.
